Seed Starting 101: Growing from Scratch

As far as copious amounts of wildly varying internet information goes, seed starting takes the cake. So I’m going to walk you through seed starting 101, the way I do it, with suggestions based on my own first-hand experience. I’m not an expert, and we all have to find the techniques and setups that work the best for our space and our commitment level.
First things first: seed starting is not for everyone. Don’t feel bad if you’re going to opt-out, it’s a big commitment! Maybe not quite as big as a human child or a puppy, but the process definitely requires daily care, and if you’re out of town, you better hire a plant sitter!
If you’re ready to dig in, then here we go! To figure out when to start your seeds, you need to determine the last frost date for your location. Usually you’ll start seeds 6-8 weeks prior to the last frost date, but reference your seed packets for exact dates. Do not start too early or you will have leggy plants!
(By the way, my Garden-to-Table Guidebook is a great resource for calculating frost dates and planning out a calendar for seed starting. If you're a pencil-and-paper person like me, go for the hard copy. But if you'd rather the convenience of your phone, there's an e-copy version too!)

This post contains affiliate links, which means I earn a small profit when you click on the link and purchase my recommendations. As an Amazon Associate I earn from qualifying purchases. Thanks for supporting my small business!
Your Seed Starting Set Up
Invest in the proper equipment, such as seed trays, shelving, and a suitable lighting system. Explore these options and choose what works best for your home and space.
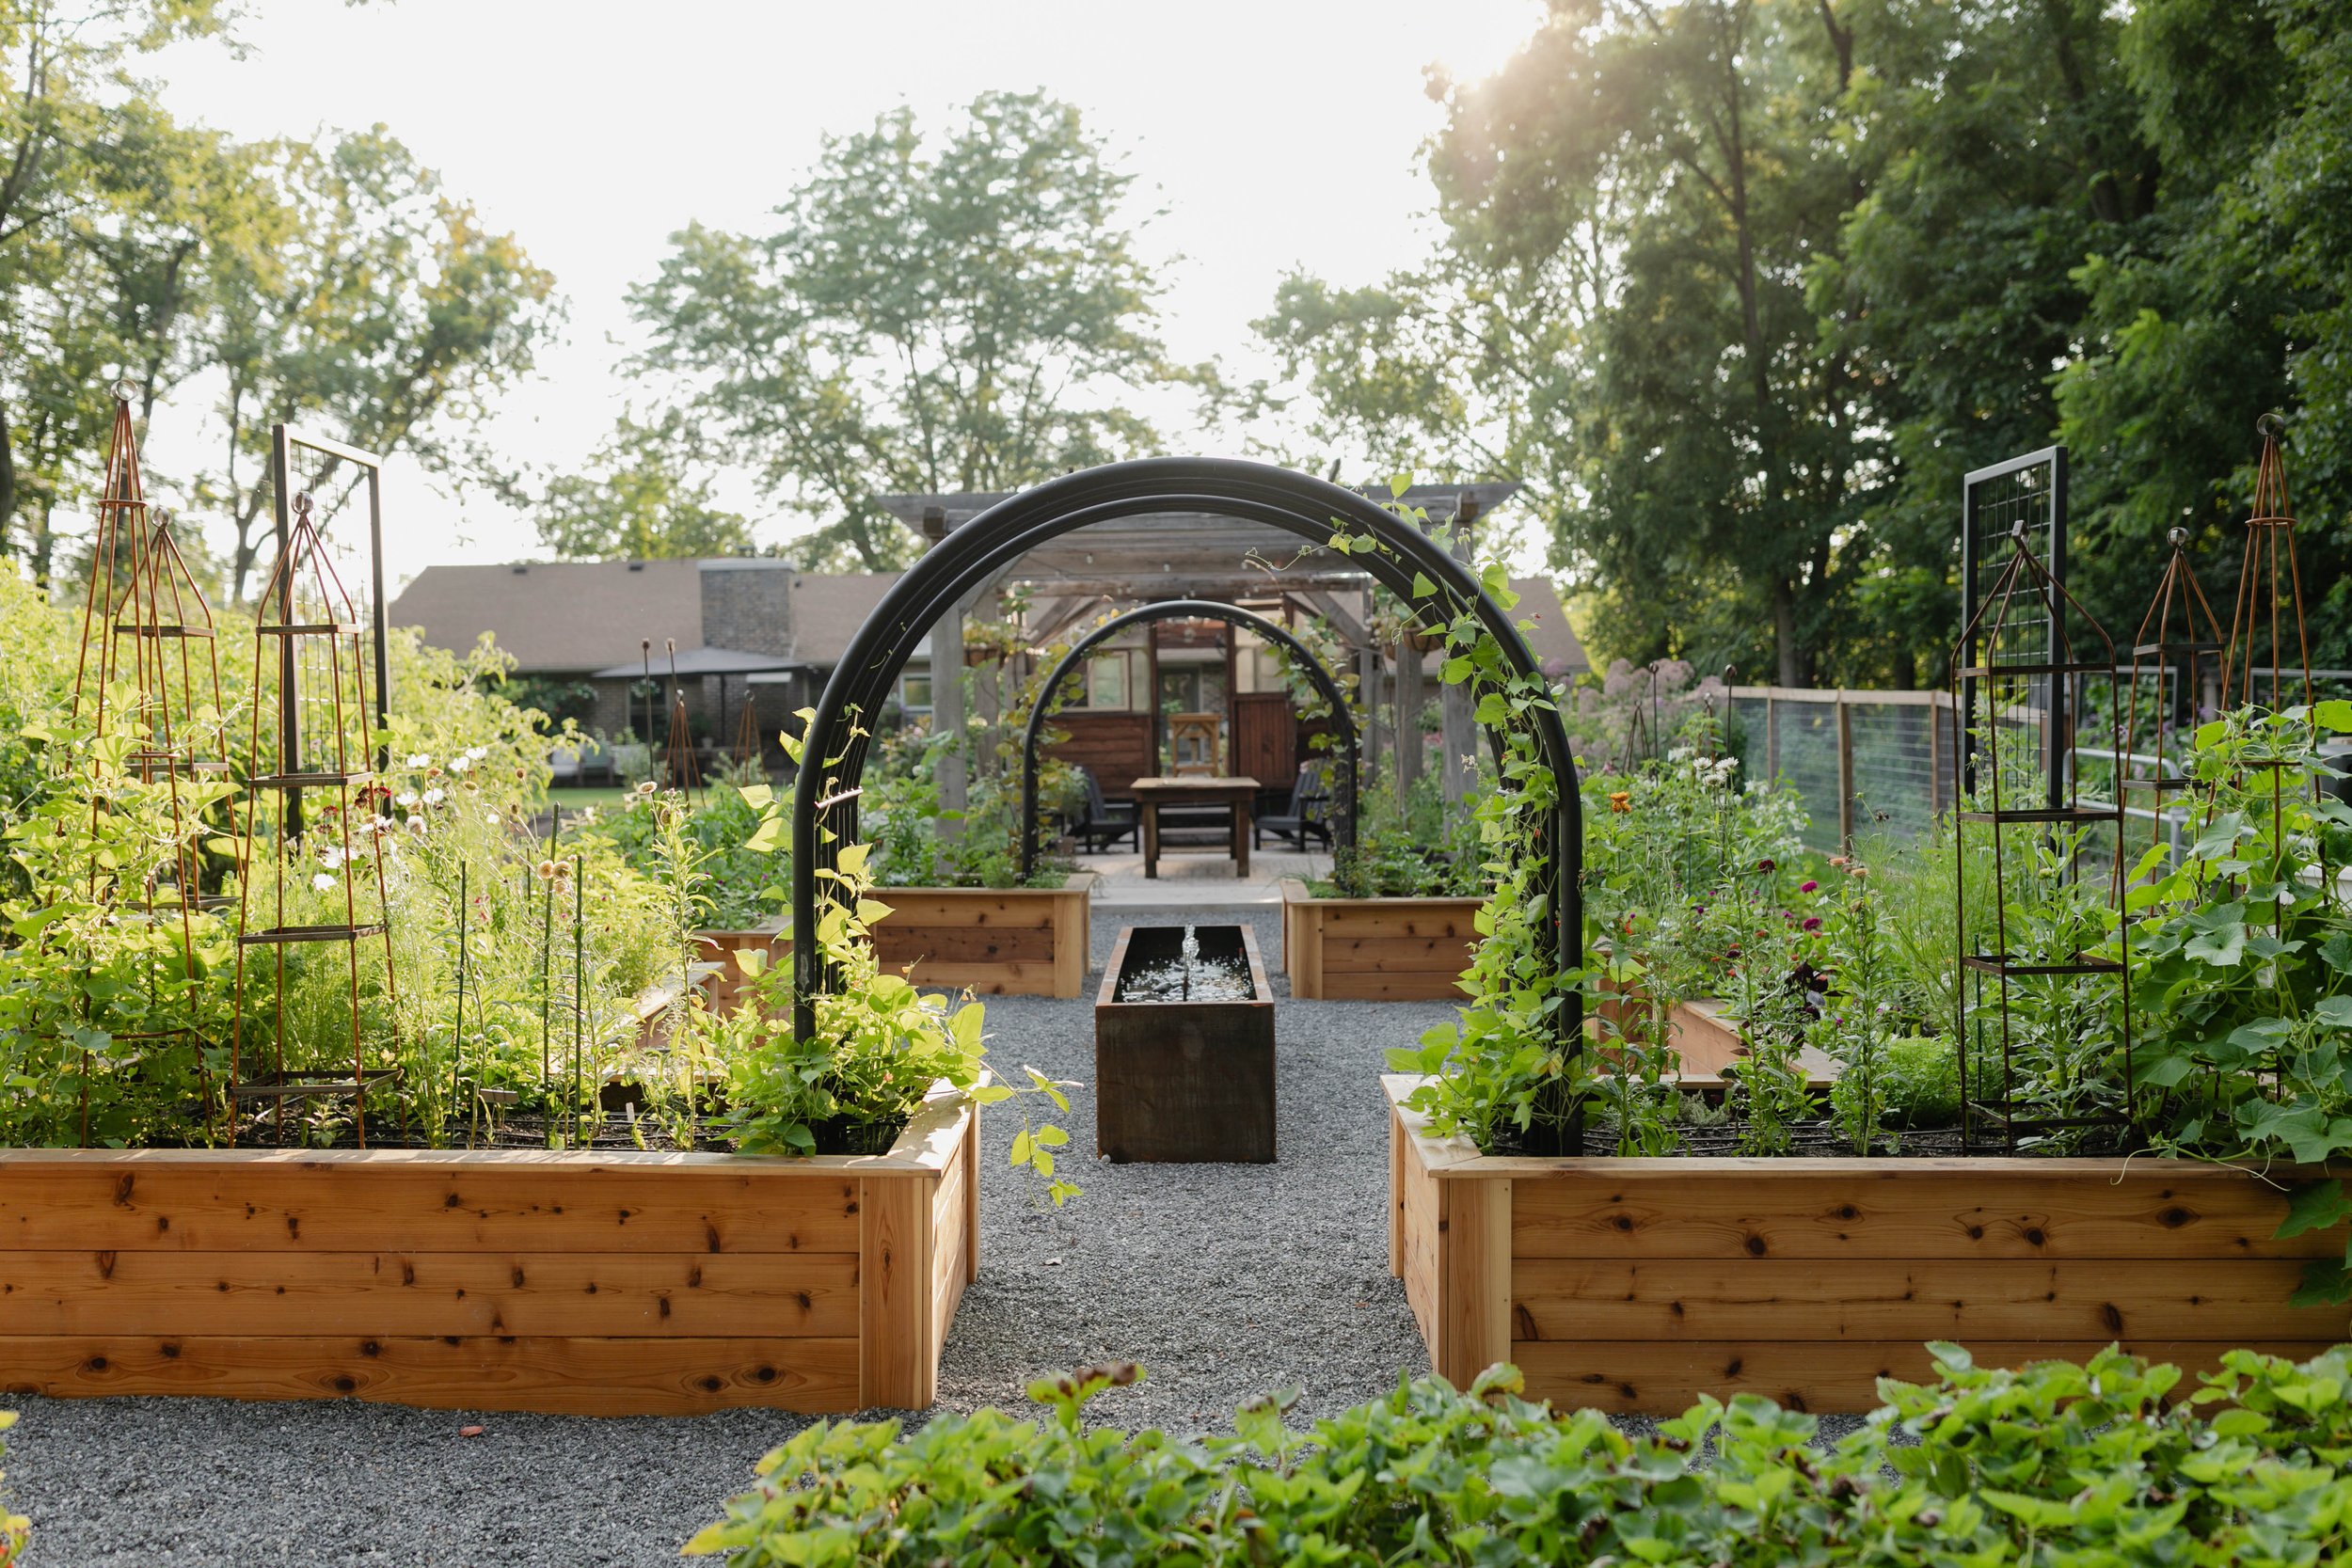
Lay out your outdoor garden and decide how many plants you will need of each variety, then reference your seed-starting setup to see if you can accommodate enough plants for your needs.
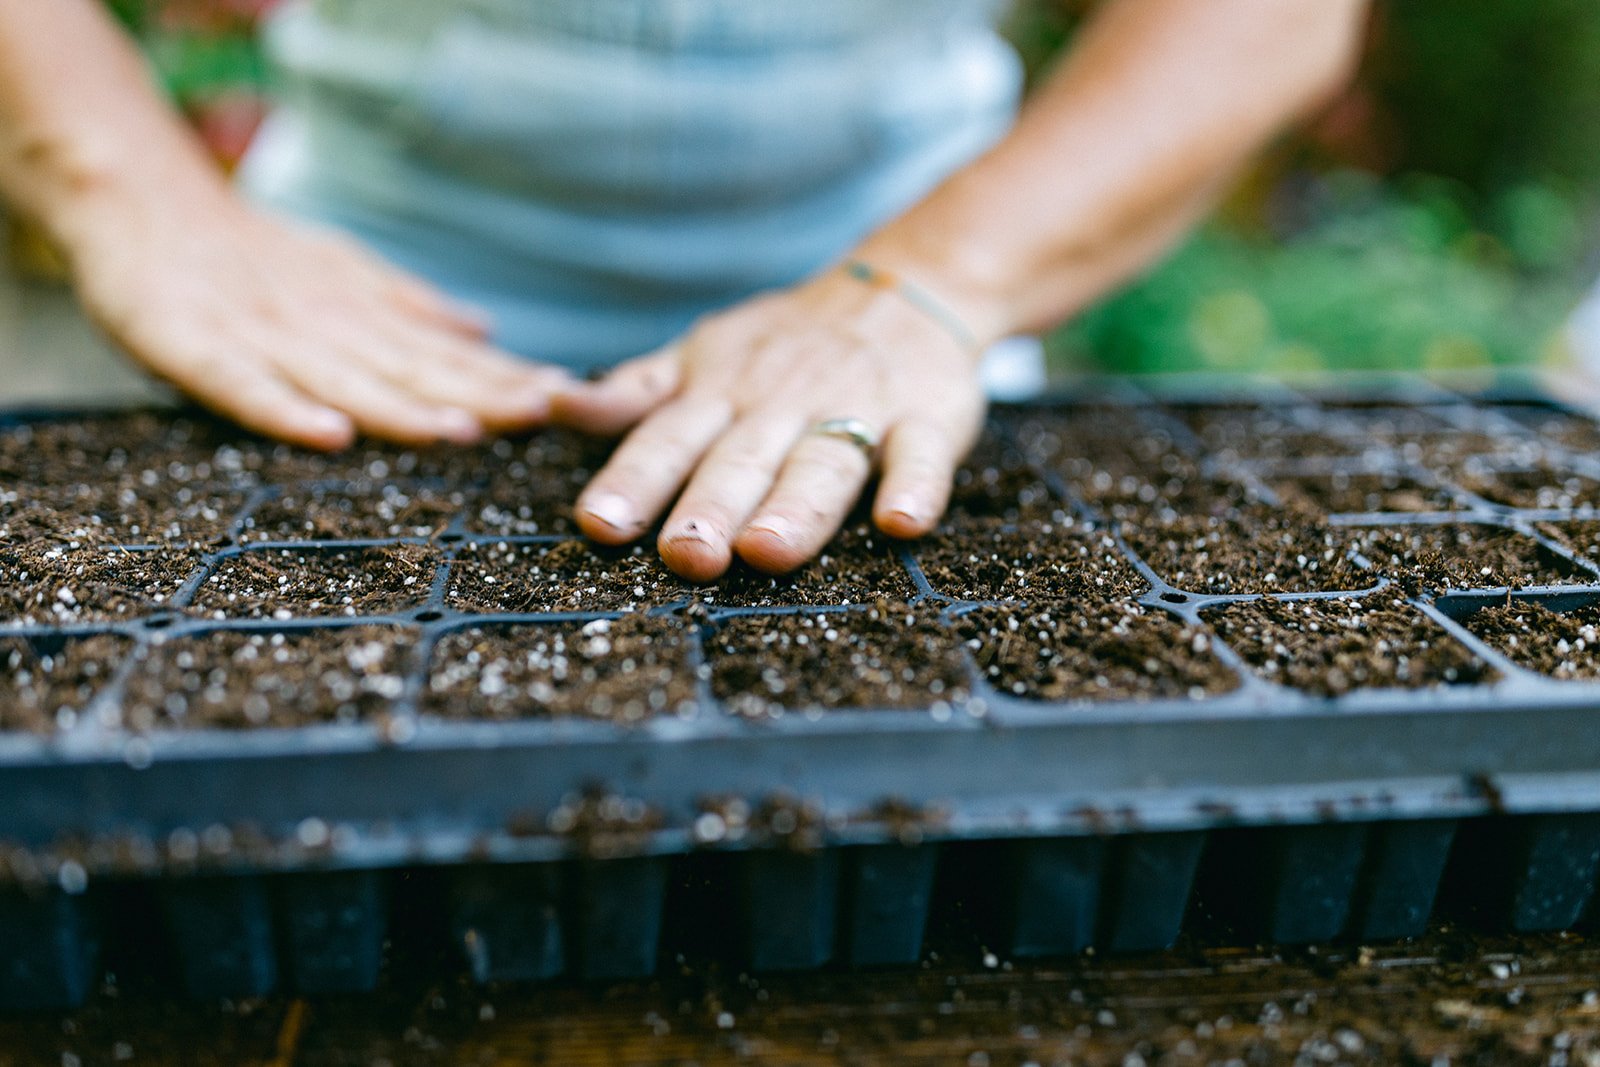
A quality seed starting mix is key. Seed starting mix is a sterile, soil-less medium designed for optimal germination. It’s usually lighter and finer than soil (can you see the difference in the picture below?). Purple Cow Organics and HSU Growing Supply are my favorite options, and the products I use in my garden.
Choose your seed starting containers. I use the 50-cell plug trays and the 72-cell plug trays each year.
Whichever containers you choose to seed start in, make sure they have drainage and if you’re reusing containers or trays from last year, make sure you sanitize them!
Nothing worse than last year’s leftover disease ruining this year’s new crop before you even get the plants in the ground!Don’t forget some grow lights! These are a must to grow healthy new seedlings indoors.
Seed Starting 101
Moisten the seed starting mix before adding to your containers. Fill each cell or container almost to the top with seed starting mix. (Pro tip: tap the container or tray on a hard surface after adding the seed starting mix - it will settle and you’ll be able to add a little more).
Sow your seeds. Lightly press each seed into the soil. As a general rule of thumb, the seeds should be planted as deep as the seed is wide.
Water each seed tray, and make sure soil stays moist during germination. Misting the surface with a spray bottle is a good option to not drown the seeds.
Cover with a humidity dome. Remove once seeds germinate. After you remove the humidity dome, assess whether you think you might need additional equipment to keep your seeds warm. When I start seeds at home, I use a heating mat because my basement is super chilly!

Seedling Care
By now, your seeds have germinated. Time to get those babies under grow lights to prevent them from turning leggy and weak.
Once your plants are under the grow lights, aim for 14-16 hours of light per day.
Place a fan on low speed near your sprouts to increase airflow so your plants don’t dampen off.
Water your plants regularly. Make sure you don’t leave the sprouts too saturated or sitting in water; it’s okay for the soil surface to dry out a bit between watering. Whether you choose to bottom water or top water is your personal preference. I personally top water because that was the way I was taught, but either is equally acceptable.
If you start your seedlings in small germination containers, they should be transplanted into larger containers once the plants have their second set of true leaves.
Once transplanted to larger containers, fertilizer can be applied. Fish emulsion works well, just remember to read the label as it applies to seedling to avoid burning your plants. I advise using any product at half strength for young seedlings.

Harden Off Seedlings Before Planting in the Garden
We’re almost there, y’all - it’s the last step before you plant your sprouts in your backyard kitchen garden: hardening off. Time to start acclimating your seedlings to an outdoor environment.
1-2 weeks before planting, slowly start acclimating your seedlings by placing them outside for a few hours each day. Keep them in the shade at first, and let them slowly adapt.
You may have to tweak your watering habits during the hardening off stage. Outdoor conditions may fry the plants faster than you’re expecting.
Once plants are properly hardened off, they’re ready to be planted in your garden. Don’t forget to prep your garden soil with fresh compost and water the transplants well.

And that’s the basics! Like I said, it’s a commitment, but there is something supremely satisfying about enjoying food picked from your backyard kitchen garden when you know you’ve grown it from a tiny seed!
You Might Also Like…